
 This is the first attempt at the journal cover and I liked it and did not want to throw it away,
 although I am not usually a big Halloween fan. I do however
like all the fun food that you can have at Halloween. So I will keep the fun recipes in here on this side, and use the other side for Holiday Recipes. The main Pumpkin image is from a wood mounted stamp, the cats are a cling border, and the small images ( bats, ghost, spider and web ) are clear stamps, and the big Jack O'Lantern was made with the Martha Stewart Pumpkin features punch anywhere on the page punch. I cut the pumpkin free hand and the one side is a little lopsided, but hey, pun'kins are not always symmetrical and round...just like people! LOL! I kept the colors true with orange, black, purple, white, and a little lime green and blue in the buttons. I added a Washi tape border on three sides to mirror the dots elsewhere. It was fun.
 Day 2 My card is an example of the mosaic technique. I used a variety of design paper to make my triangles. I added a shiny gold star at the top and round red bling scattered on the triangles.. This is simple enough for a young child to put together or when you need to make lots of Christmas cards. I think it needs something but not sure what.
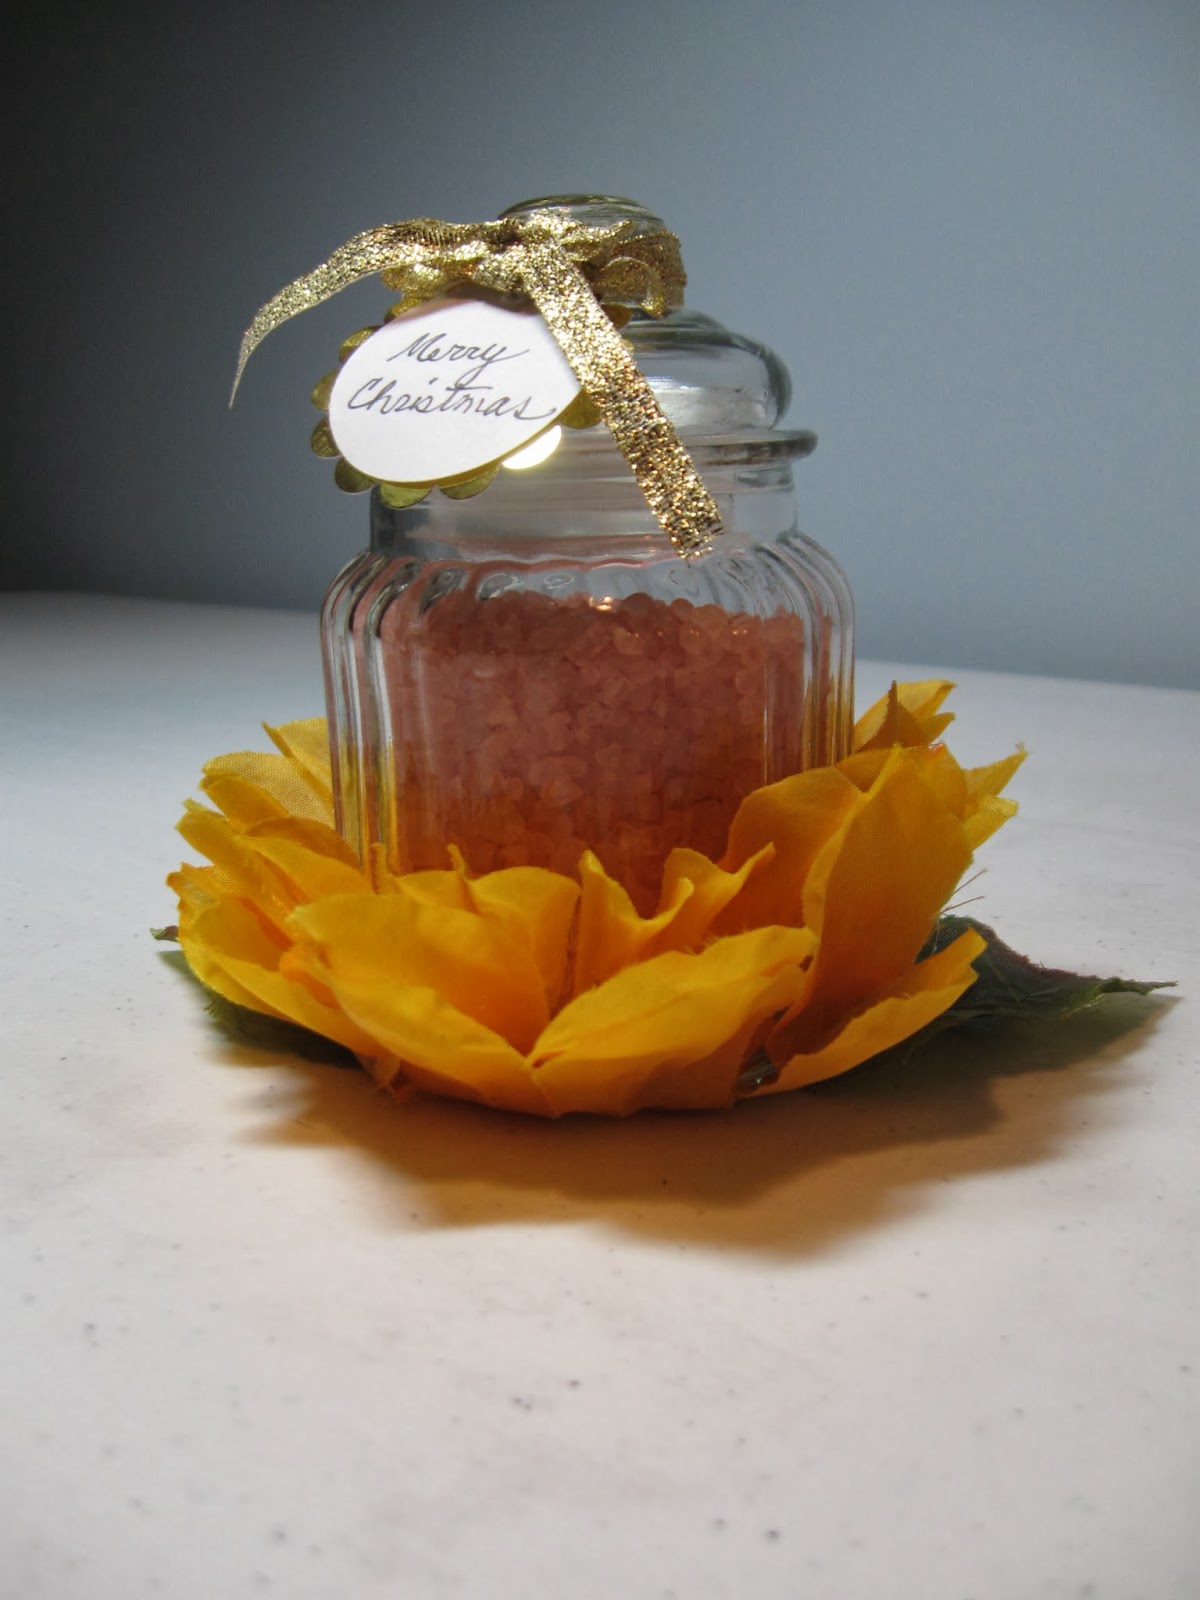
 Day 4 Everyone loves Post It Notes and making a cover to make this one extra special was fun. I decided to use one of my new We R Memory Keepers tools which makes small gift boxes that close with punched out corners that over lap and hook together. I used only the corner punch feature with the hooks.. I also wanted to use some bright colored card stock. Mine is double sided and some of the red shows from below. I added a scalloped circle and hand wrote Thanks and added some bling to mirror the dots in the paper. I know someone who loves these colors...shhh....don't tell!


 Day 8 Candy gift "stick". This puzzled me at first because I wondered what kind of stick was needed. But after I saw some of the samples, it is only a group of candy made into a vertical strip. I put candy canes on paper tress which were stick together with red double-sided tape. Each tree has a shiny gold star on top and a little bling scattered on the trees. Sorry the picture is small. I added a folded scallop at the top to look a little like snow. Very easy . I cut my trees by hand but if you have a tree die or punch, it would go faster.
Day 9 Craft stick sled All I had was wooden coffee stir sticks which are narrower and thinner than craft sticks. So I went with them.I used hot melt glue to hold them together. I painted them white and added some white sparkle paint on top. I was stumped as to what to put on the top until my DH related a story about the movie "Citizen Kane" in which the main character played by Orson Wells dies at the beginning and his last words were"rosebud". The whole movie they are trying to figure out what he meant by "rosebud" and what significance it had.I won't give the movie away but the audience finds out at the end what it meant. I had just bought some pretty little roses recently, so added one to my sled, along with some pieces left over from using a Cuttlebug die, and added the red/white bakers twine for the rope. Kind of different and cute as an ornament.

 Day 11 Banners I made a simple card using some scraps of green and red paper. I added the chalk board inner triangle and added the white chalk letters to spell JOY. the sentiment is a clear one from a new set of lots of Christmas sentiments. I added the bling between and the red/white bakers twine for the hanger.
 Day 12 Mini album made from toilet paper rolls. Not sure why, but the toilet paper rolls from Wisconsin are a bigger diameter than our MN ones, So this craft had lots of room for inserting a card. I covered each flattened roll with patterned paper. I punched two holes in each and hooked two "O" rings in the holes.. I decided to make a Memorize Bible verses album. Each flattened roll has a white card inserted with a Scripture written on card. The bottom of each card has a pull out tab. There is room for 6 verses counting the front and back of each card. They are printed so my grand daughters can read them easily. I added the heart on the front with the gift paper because Jesus loves His creation and died to provide a way for us to be forgiven and be with Him eternally. He is the ultimate Christmas gift for all who would believe. This is my prayer for all, that you seek the living Word of God, Jesus Christ, and make Him your Lord and
savior, asking for forgiveness of your sins, and following Him and trying to mirror His example as recorded in His Word. God bless you all.

